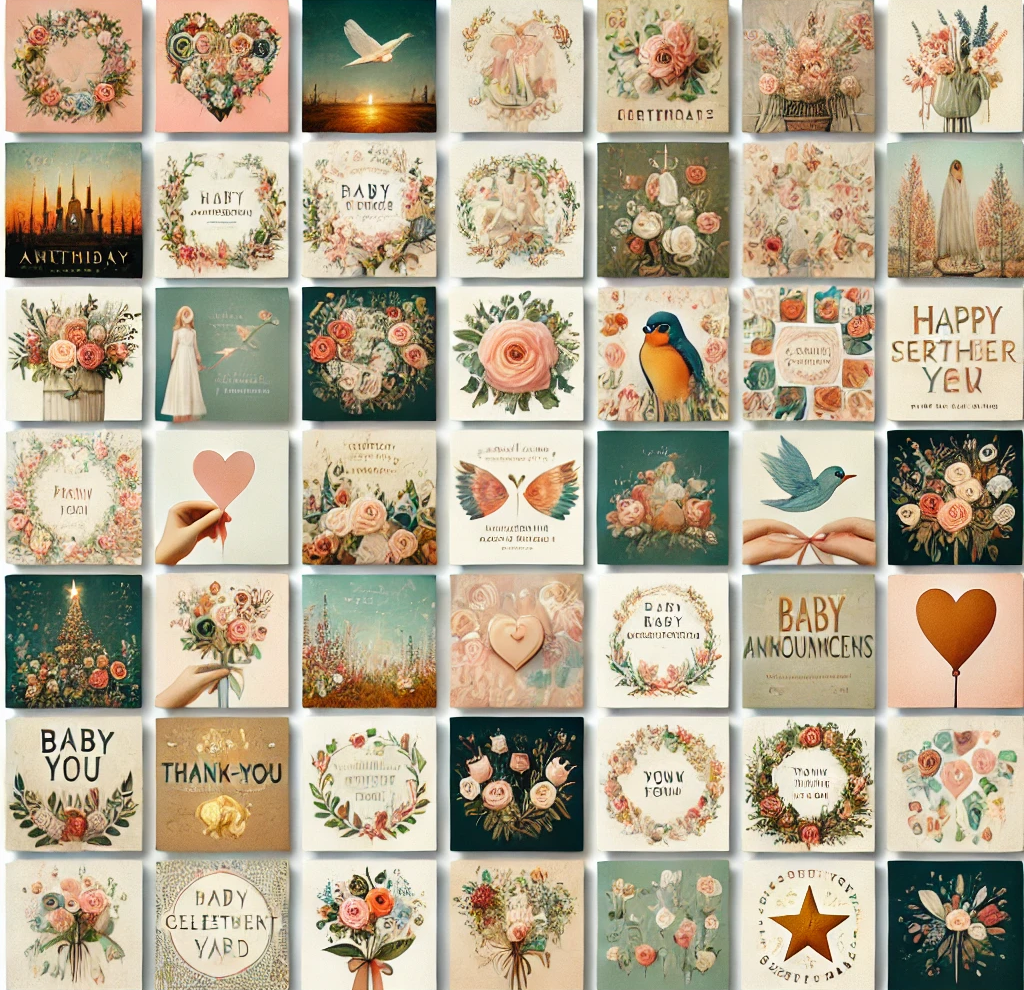
# DIY Custom Invitations Templates: Bring Your Event To Life
If you’ve ever felt the magic of opening a homemade card, the sensation of thick textured paper in your hands, and the burst of creativity from handwritten versus machine-generated words, you know there’s something truly special about personalized stationery. Now, imagine bringing this very touch of personalization into your own special events with DIY custom invitations. Picturize yourself at your craft table, spattered with vibrant ink samples and embellishment options; the excitement of putting together an invitation that reflects your unique style and sentiment. From custom birthday invites to one-of-a-kind holiday greetings, DIY custom invitations offer a fun, personalized way to express your creativity. In this blog post, we’ll guide you through everything you need to know about customizing your own printable invitation templates.
## The Magic of DIY Custom Invitation Templates
So, what’s the big deal about DIY invitations? Think of them as blank canvases. One moment it’s an unassuming sheet of paper; next, it’s bursting with colors, textures, and typography. An embodiment of your style and sentiment, waiting to be opened and appreciated.
*Customization Ideas*
Whether it’s for a birthday party, a baby shower, or a festive occasion, the look-and-feel of your event starts with your invitation. Make it vibrant for a fun summer gathering or stick to minimalist designs for an elegant soiree. Use the template as a rough guide, then unleash your creativity by adding photos, handwritten messages, or colored backgrounds. Kit it out with embellishments: ribbons, glitter, or watercolor strokes. The options are endless.
*Materials Needed*
The wonderful thing about DIY invitations is that they do not require specialized tools. Your tool kit includes good quality printing paper (we recommend cardstock), a printer, scissors, and an assortment of embellishments. You could use craft glue for attaching trinkets and a set of coloring markers for extra flares.
*Expanded Use Cases*
The beauty of these invitations is that they are not just restricted to events. Use them as dinner party menus, birth announcements, or thank-you cards. The options are endless!
## Mastering the Art of Customization
Creating your DIY invitations is an experiential journey that promotes creativity and personal touch. And guess what? You don’t need any design skills. Let’s break this down into a couple of easy steps:
*Personalization Tips*
Start with your template. Enter the event details: the name, date, time, and venue. Next, choose a font type and size that aligns with your event’s mood. Into sceneries? Add clipart or images to enhance your designs. Love doodling? Draw on your invites for that extra flair. Remember, the key is to keep it synonymous with the theme of your event.
*Creative Variations*
You aren’t restricted to one design. Experiment with colors, typography, or the orientation of your invitation.
*Seasonal or Themed Customizations*
DIY templates make dynamic seasonal or themed invitations. A Halloween party invitation adorned with little carved pumpkins, or a Christmas-themed invite in warm colors with mistletoe graphics, would create a great impact.
*Examples of Finished Projects*
The end result exhibits an extension of your personality. Imagine a framed, monochrome birthday invite on earthy paper, sitting on a rustic wood table, or a vibrant holiday invitation embellished with metallic ribbons dangling from your fridge.
## Why DIY Invitations Are All the Rage
*Budget-friendly*
Store-bought invitations can burn a hole in your pocket, especially when you host several events a year. Opting for DIY printables can save you a considerable amount of cash.
*Creativity Trigger*
With DIY invitations, you’re the artist! Exercise your creativity and design something truly unique.
*Eco-friendly and Convenient*
DIY printables are good news for the environment too. You print only what you need, reducing waste. Plus, these ready-to-print templates save time, especially when you’re in a rush.
## Step-by-Step Guide: How to Print and Customize
*Downloading and Printing*
Choose your template design and download it onto your computer. Load your cardstock into your printer, adjust your printer settings for high-quality prints, ensuring clarity and color vibrance.
*Personalization*
After printing the design, get ready to spice it up. Customize with your choice of embellishments, handwritten messages, or images and make your invite stand out.
*Final Touches*
Take time for the finishing touches. Attach embellishments, apply glitter, or use color markers to accentuate specific design elements.
## Storing and Displaying Your DIY Invitations
Keep your finished DIY they invitations in dry, sealed containers or reinforcement folders to protect them from environmental conditions. Place them prominently on your coffee table or your living room shelves. Or even better, use them as a centerpiece at your event.
## Conclusion
Creating DIY custom invitations is not only cost-effective and environmentally friendly, but a therapeutic and fulfilling experience that adds a personal touch to your events. They’re more than just invites; they reflect your personality and creative flair. So why wait? Try customizing your first invitation today. Don’t forget to share your amazing creations in the comments below!
_From birthday parties to dinners, check out our other posts for ideas on incorporating DIY printables into your celebrations._
*Meta Description:*
Unleash your creativity with DIY custom invitations for your special events. Our comprehensive guide offers inspiration, tips, and an easy-to-follow process to create one-of-a-kind cards.


