Introduction
Remember the good old days when every mail delivered to the doorstep was an exciting affair, especially if it was a handwritten note or a greeting card from a loved one? The digital era may have changed how we communicate, but feeling the texture of paper, admiring the colors and designs, and reading a personalized message certainly stirs a nostalgic thrill that emails and text messages can’t match. That’s what we’re here to inspire today – DIY “Congratulations” cards for special occasions like weddings, birthdays, and promotions. We believe that the love and thought you put into creating a DIY card is unmatched by any mass-produced card you pick off a store shelf. And who doesn’t love a hint of personalization, right? So, buckle up, grab your craft tools, and get ready to master the art of crafting DIY cards! Ready for some craft time fun? Let’s go!
Printable Item Overview
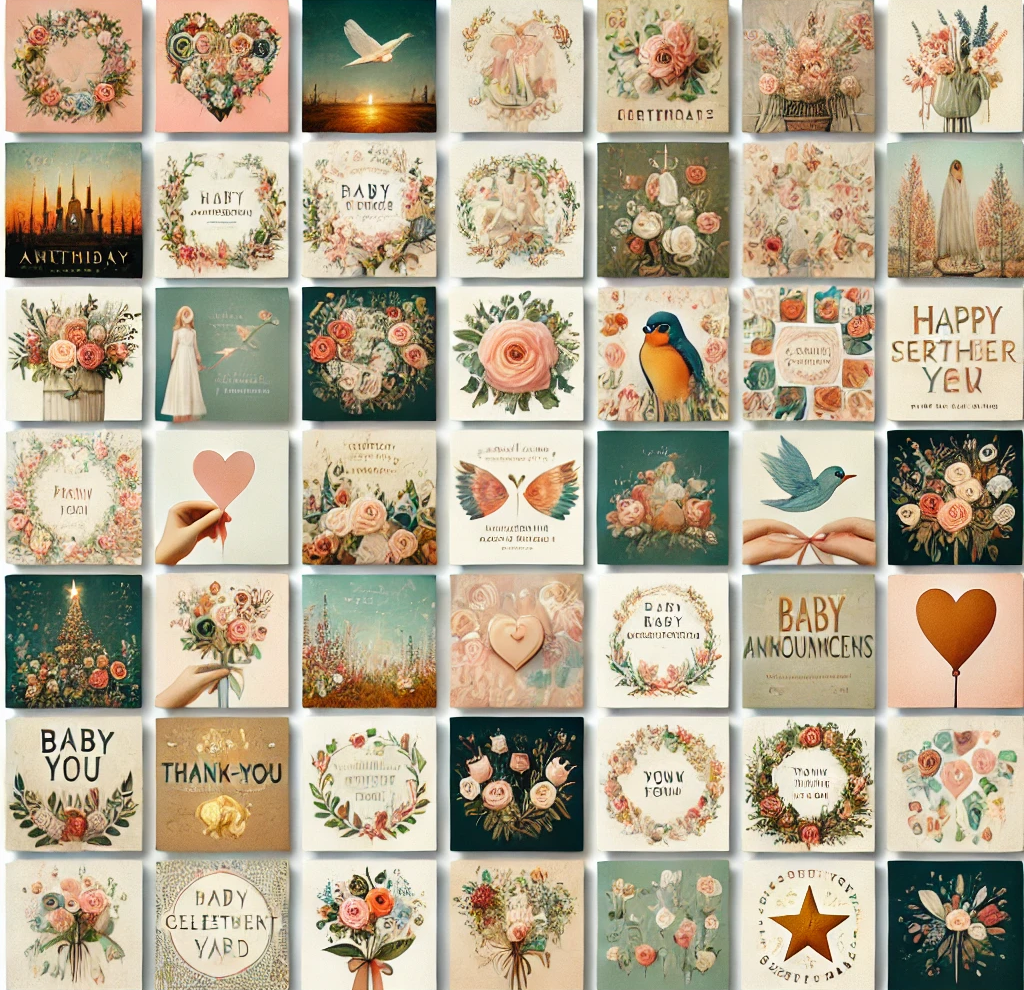
Let’s dive right in! Our printable DIY “Congratulations” cards are simple to make, yet absolutely stunning. Themes range from subtle pastels to vibrant floral designs and minimalistic black and white templates. Plus, they come with plenty of space for that special message from your heart. The customization options are endless!
How about adding a little sparkle to your card with some glitter? Or sticking in a personal photo to make it a keepsake? Alternatively, hand-drawing a little doodle would add a touch of personal charm. You can even use different types of paper to add texture to your cards – thick cardstock for a sturdy, luxurious feel, glossy paper for a shiny finish or matte finish paper for a sophisticated vibe.
Our DIY cards are not solely meant to be sent out; they can also be a part of your home décor. Imagine a string of these intricately designed cards hanging on your living room wall. Feels like a party every day, doesn’t it? You could also surprise your co-workers by decking the office with these cards to celebrate a team member’s promotion.
How to Customize the Printable
Personalizing these cards can be an absolute delight with countless opportunities for you to add your unique touch. For example, you might want to add a strip of ribbon along the border of the card. Or perhaps, jazz it up by sticking some gemstones around the central ‘Congratulations’ text.
Let your imagination run wild with different seasonal themes. A fall-themed card could have browns and oranges with bits of dried leaves, or a winter-themed card could use a monochrome white and silver scheme with a little snowman sticker in the corner.
The choice is yours; the sky’s the limit. To help you visualize, imagine turning a simple card into a colorful artwork that your loved one could put up on their office desk or hang on their fridge. Doesn’t that sound amazing?
Benefits of Using Printables
Printable DIY cards have gained immense popularity over the last few years – and for good reasons too. It’s an economical choice. Why spend on expensive, store-bought cards when you can design your own at practically no cost? It’s eco-friendly too – saves you a trip to the store and minimizes waste from packaging.
Printables also allow you to channel your creativity. The process of selecting a design, choosing colors or patterns, and adding unique elements sparks joy and a sense of accomplishment. It breathes new life into the monotonous routine of our digital world.
Moreover, printables are perfect for those last-minute needs – forgot a close friend’s birthday? Make a DIY card, print at home in a jiffy, and voila! You’re ready to make their day special, without breaking a sweat!
Step-by-Step Guide for Using the Printable
Step 1: The starting point is downloading and printing the printable. Choose a thicker paper like cardstock for a more professional look and set your printer to a high-quality setting for the best outcome.
Step 2: Personalize your card by writing a heartfelt message inside. Let it flow from your heart, and we assure you, the recipient will cherish it.
Step 3: This is where you add the final touches. If you’ve chosen ribbons or stickers, glue them using a clear glue. If you’re using pencil colors or sketch pens, get started with your doodles. Remember, it’s better to start lightly and then darken the strokes if needed.
Avoid the common mistake of hurrying through the process as it could lead to smudging of colors or not letting the glue dry properly.
Tips for Storing and Displaying Your Printable
Once your card is ready, keep it safely inside a plastic sleeve or folder. When the right moment comes, tie it with a bow or place it inside a classy envelope before presenting it.
These cards are perfect for decoration purposes too. You can hang them on the wall, place them on your office desk or even use them as a bookmark.
Conclusion
So there it is! Your guide to creating an unforgettable, personalized, and easy-on-the-wallet “Congratulations!” card. Personalization at its best, this DIY project opens the way for creativity to flow while keeping the nostalgic charm of receiving a card alive. Why wait? Flex your creativity muscles and start crafting your DIY card now. Don’t forget to share your masterpiece with us in the comments below. For more crafty inspiration, check out our articles on creating printable gift tags and DIY posters. Now, get crafting!
SEO Meta Description: “Get crafty with our simple yet stunning DIY “Congratulations” cards. Perfect for weddings, birthdays, promotions, and more – personalization made fun and easy!”


