Introduction:
Imagine sitting in a quiet space, your favorite music playing softly in the background, sparking your creativity as you bring a unique scrapbook page to life. The smell of fresh paper, the weight of your favorite markers in your hands, the joy of seeing your ideas come alive on the page. A personalized scrapbook page is not only a great medium for showcasing your creativity but also an exceptional way to capture cherished memories. This post will guide you in creating your own DIY scrapbook pages, a fun and nostalgic project that can add a touch of charm to your albums or make handmade gifts even more heartfelt and memorable.
Printable Item Overview:
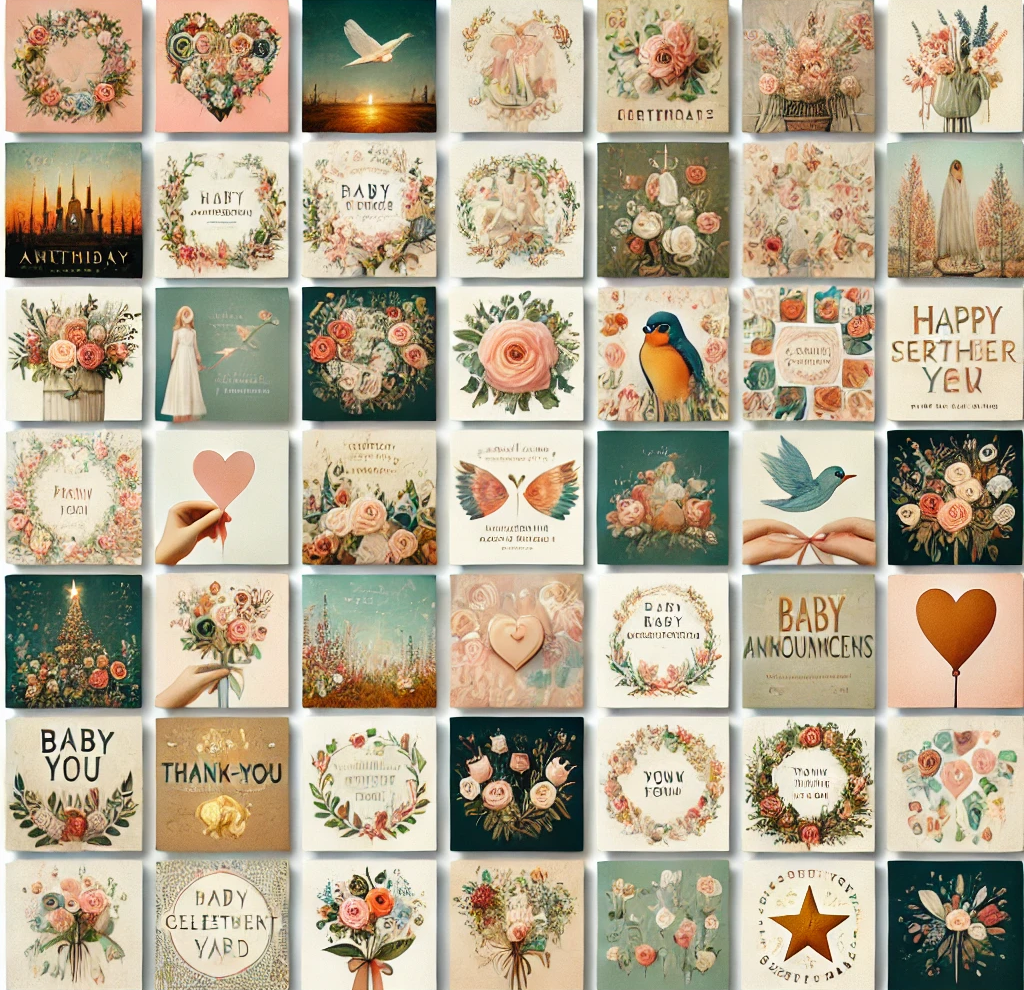
In the world of crafts and DIY projects, printable scrapbook pages are gaining popularity due to their convenience and endless customization possibilities. A printable scrapbook page is a digital template that you can print out and then embellish according to your preferences. The choice of designs, themes, and patterns is limitless, which makes each compilation of memories truly unique.
Personalizing your scrapbook page might be as simple as choosing a color palette specific to your memory or as complex as adding detailed doodles, mixed media elements, or messages. The universe of scrapbooking supplies – from eye-catching stickers to special edging scissors – is all at your disposal.
The materials you’ll need for this project include a printer, high-quality paper (you might opt for heavy cardstock for sturdiness), scissors, glue, markers, and any other embellishments like stickers, glitter, or buttons. But the beauty of this project is in its flexibility: you use what you have, and there are no wrong choices–only creative ones!
The use of printable scrapbook pages isn’t just limited to compiling albums of memories. With your personal touch, these pages could be framed and hung as artwork on walls, used as unique greeting cards, or transformed into handcrafted calendars or planners!
How to Customize the Printable:
Customizing your printable scrapbook page is where the magic happens! Start by sticking photos, tickets, or other mementos onto the page. Add captions, write short stories, or draw doodles that relate to your pictures. Then, add border art to enhance color and texture. Throw in an element of surprise by using pop-up stickers or other unique embellishments.
There’s no end to the different looks you can achieve with your printables. Seasonal themes can bring that extra cheer during holidays, whether it’s adding snowflakes for winter or vibrant fall leaves to an autumnal page. An example of a finished project might be a summer-themed scrapbook page with vibrant colors and added elements like shells or postcards, making you relive those lovely beachside memories.
Benefits of Using Printables:
Printables are highly popular as they are not only budget-friendly but also eco-friendly. They allow you to be creative while also being environmentally conscious. Need a last-minute gift? A decorative scrapbook page with your personal touch can save the day! Printable scrapbook pages afford users the ability to create enchanting keepsakes at their convenience, implicating a cost-efficient and creative pastime.
Step-by-Step Guide for Using the Printable:
Step 1: Downloading and Printing: Choose a design you love and download it. Print the page on high-quality paper, ensuring the best print quality by adjusting your printer settings as necessary.
Step 2: Personalization: Now it’s time for the fun part – personalizing! Start with adding photos or other personal elements, followed by doodles, captions, and border art.
Step 3: Final Touches: Add embellishments and final touches. Ensure that your glue is dry, and your markers don’t smudge.
Avoid mistakes such as printing on the wrong paper size or misjudging the space needed for photos and decorations by planning out the layout before you start adhering things.
Tips for Storing and Displaying Your Printable:
Finished printables need to be hung or displayed in protective frames to preserve their quality. While storing, place them in protective sleeves or boxes. A customized scrapbook page can be a brilliant addition to your gift wrapping routine, adding a personal touch to your presents.
Conclusion:
Creating DIY scrapbook pages is a fun, creative, and unique way to preserve and showcase your memories. So, print out that template, cut loose your imagination, and start creating your personal masterpiece. We’d love to see your finished scrapbook pages. Share your creative designs with us in the comments, and keep cherishing those memories!
SEO Considerations:
Primary keyword: DIY scrapbook pages
Internal Links: Check out our guide to printable greeting cards, DIY calendars.
External Links: Add links to reputable sources providing printing tips, product recommendations
Meta Description: Unleash your creativity with our step-by-step guide to making your own personalized and unique DIY scrapbook pages. Fun, easy, and perfect for preserving memories!
Tone & Style:
Let’s keep the tone light, approachable, and fun, ensuring the instructions are clear and detailed while emphasizing the nostalgic, joyous nature of the activity. Let’s make the creative process of scrapbooking enjoyable and inspirational to our readers.


