DIY Pop-Up Cards for Weddings, Anniversaries, and Birthdays: A Personalized, Creative Adventure
Have you ever been swept away by the soft flutter and delightful surprise of a pop-up card opening before your eyes? There’s an undeniable magic in those tiny, intricate paper sculptures that spring to life, transforming a simple greeting card into a memorable keepsake. Today we’re going to reignite that sense of childhood wonder and nostalgia hidden in paper folds, as we delve into the art of creating DIY pop-up cards for weddings, anniversaries, and birthdays.
This blog post will serve as your guide, unveiling the depths of possibilities hidden within your printer and paper, the power to bestow joy and amusement, and the capacity to add more warmth and personal connections to your everyday life.
———-
## The Charm of DIY Pop-Up Cards
Pop-up cards, dynamic and three-dimensional, are a joy to both gift and receive. Contrasting with flat, traditional store-bought cards, these charming pieces offer a unique, interactive experience that completely transforms card giving and receiving into an unforgettable moment.
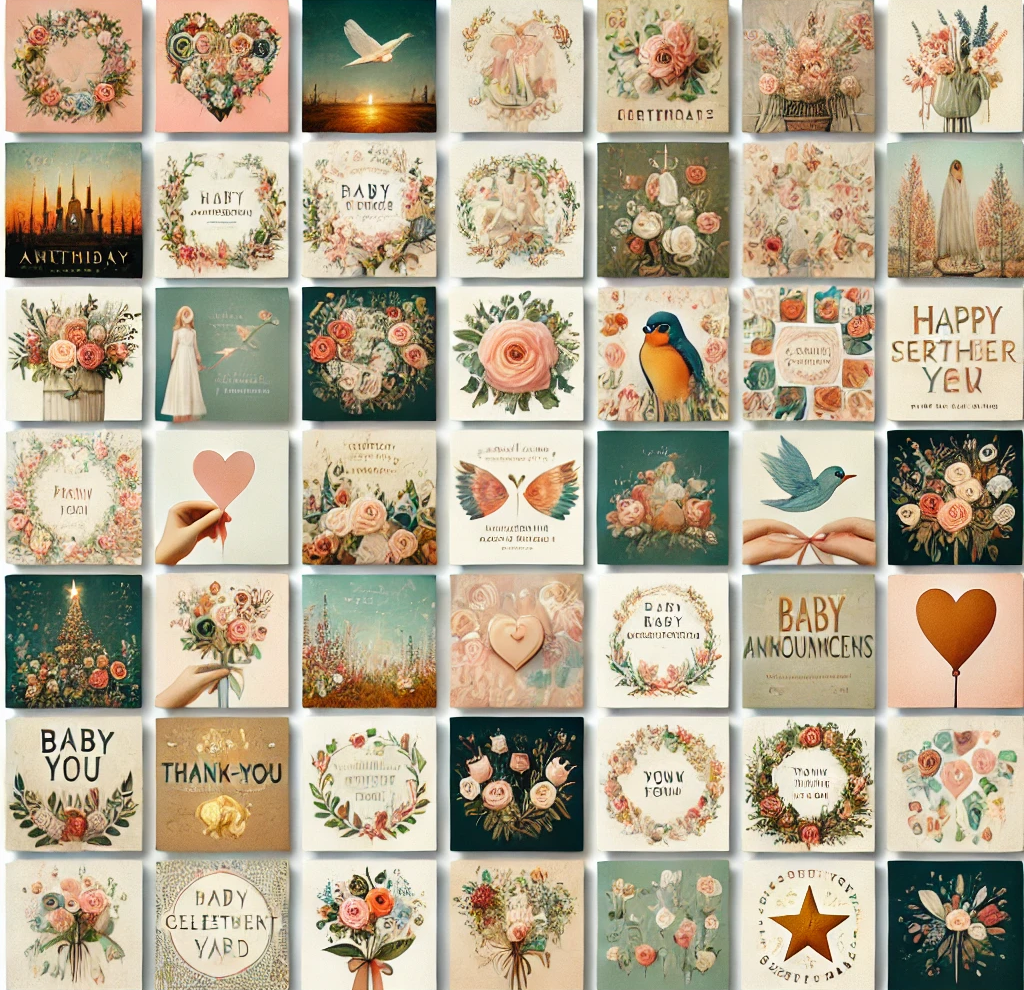
Our DIY Pop-up Cards include designs tailored to various occasions – think weddings, anniversaries, birthdays, and even ‘just because’ days. Themes vary from whimsical floral arrangements for springtime birthdays to delightful heart mosaics for anniversary celebrations, from charming miniature cakes for birthdays to enchanting wedding rings for unforgettable matrimonial wishes.
To construct your one-of-a-kind pop-up card, you’ll need to gather some basic tools around the house: a printer, paper (we recommend a slightly sturdier cardstock), scissors, glue, and the optional glitter for those desiring a touch of ‘sparkling magic’.
You can utilize the DIY pop-up cards in a multitude of ways! Along with being the perfect greeting card, they can also serve as placeholders at a dinner party, thank you cards, or even become a surprising decorative piece, ready to make someone smile around every corner.
———-
## Unleashing Your Creative Potential with Pop-Up Cards
If there’s anything more thrilling than receiving a pop-up card, it’s making one yourself! Here are some tips to help you make the most of your pop-up card.
1. **Personalized Messages:** Extra effort and thought go into creating a DIY pop-up card, why not go the extra mile? Write a heartfelt, personalized message, making the card even more special for your loved one.
2. **Creative Variations:** You’re not just limited to the templates! Add your unique twists – hand-drawing elements within the card, adding stickers, or experimenting with various color palettes.
3. **Seasonal Flair:** Have fun customizing your card to seasons or specific events. Imagine a summer wedding card adorned with sunflowers, an autumn anniversary card showered with golden leaves.
4. **Finished Projects:** Think of these cards as miniature, treasured artworks – you can display them on your mantelpiece, office desk, or bookshelf.
———-
## The Irresistible Allure of Printables
Coming back to the roots of creativity, printables like DIY pop-up cards reflect the joy of crafting something with your hands. They’re an affordable, fun alternative to buying mass-produced items and present an opportunity to create memories during the crafting process itself.
Not only are printables eco-friendly as they reduce waste, but you can also print them at home, eliminating the trouble of going out. If you have a card emergency or a forgotten birthday approaching, pop-up cards come to the rescue.
———-
## Your Step-By-Step Guide to Mastering Pop-Up Cards
1. **Downloading and Printing:** Once you’ve chosen your design, download it into your system. Choose card stock or equally firm paper for best results, ensuring your card survives handling.
2. **Personalization:** Follow the instructions to add your messaging, cut out the patterns, and carefully assemble the card.
3. **Final Touches:** Love glitter? Want to add a personal touch with stickers or paintings? Go wild! Just ensure it doesn’t interfere with the pop-up mechanism.
Avoid common pitfalls such as losing the popup effect by using too flimsy paper, or ruining the surprise by adding too many bulky decorations.
———-
## Preserving and Proudly Showcasing Your Pop-Up Creations
After creating your pop-up card, store it carefully to keep it in good shape. Using a protective folder or clear plastic sleeve would be ideal. As for displaying, there are umpteen creative ways – frame them and hang them on walls or make an interesting table centerpiece.
———-
As we conclude this artsy journey, we’re sure you’re teeming with anticipation to begin crafting your DIY pop-up cards. All it takes is a printer, paper, scissors, glue, and your boundless creativity. Share your finished designs with us in the comments below. We’re excited to see the magical pop-ups you create!
Also, don’t forget to explore more printable ideas and check out our other DIY projects on our blog. Happy crafting!
*Meta Tag: Dive into the delightful world of DIY pop-up cards! Follow our step-by-step guide to create unique, personalized cards perfect for weddings, anniversaries and birthdays.*
———-
Keywords: DIY Pop-Up Cards, Printable Cards
Internal Links: Navigating Common Pitfalls while Creating Pop-Up Cards, Other DIY Printable Projects,
External Links: Tips for choosing the right paper for printables, Best Printers for DIY Projects.


